
Woodland Animal Nursery Wallpaper
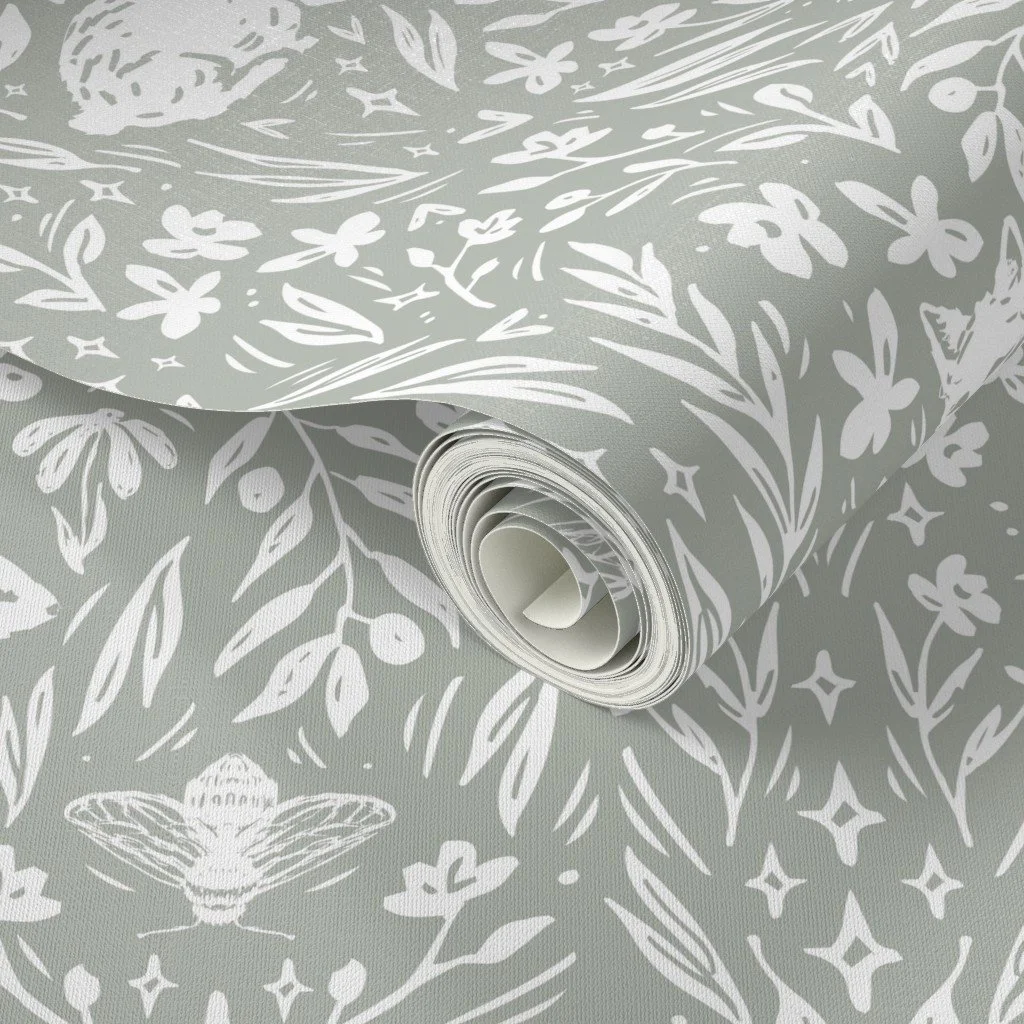
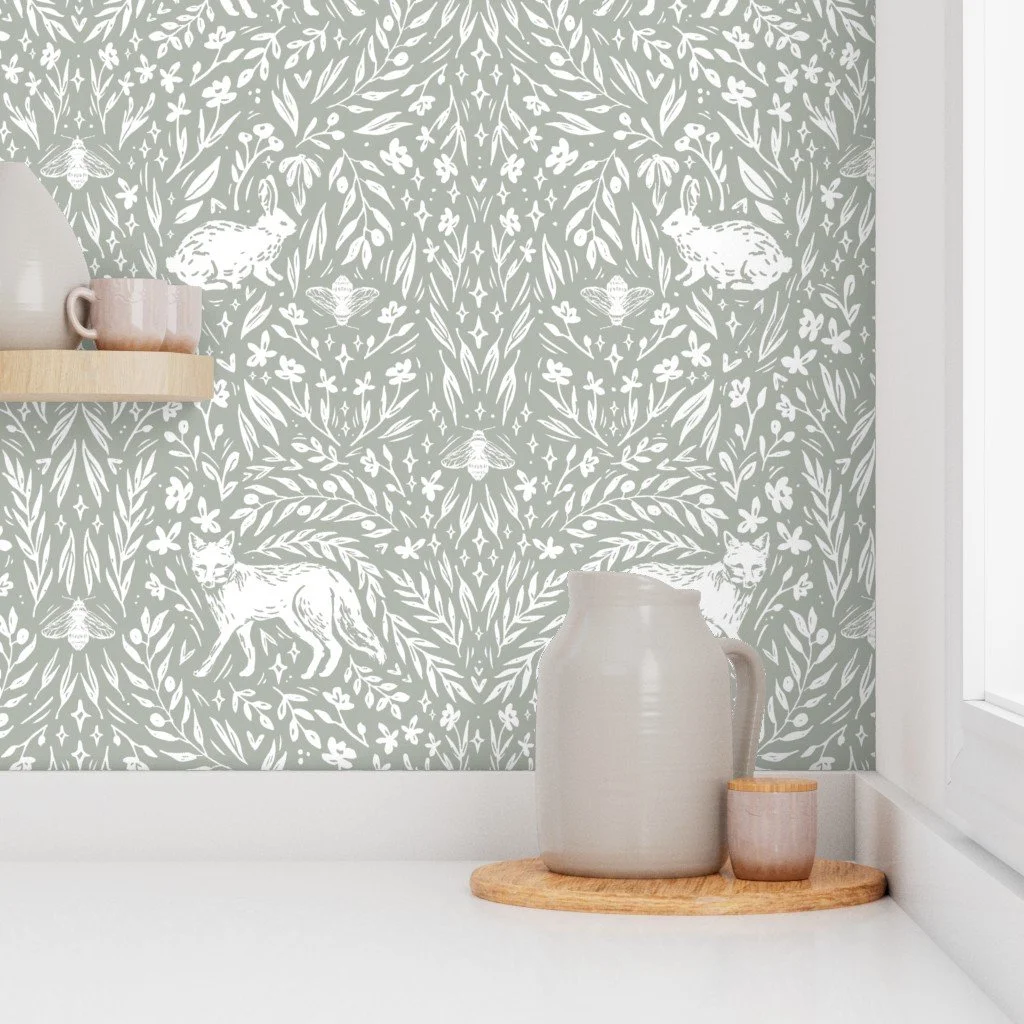
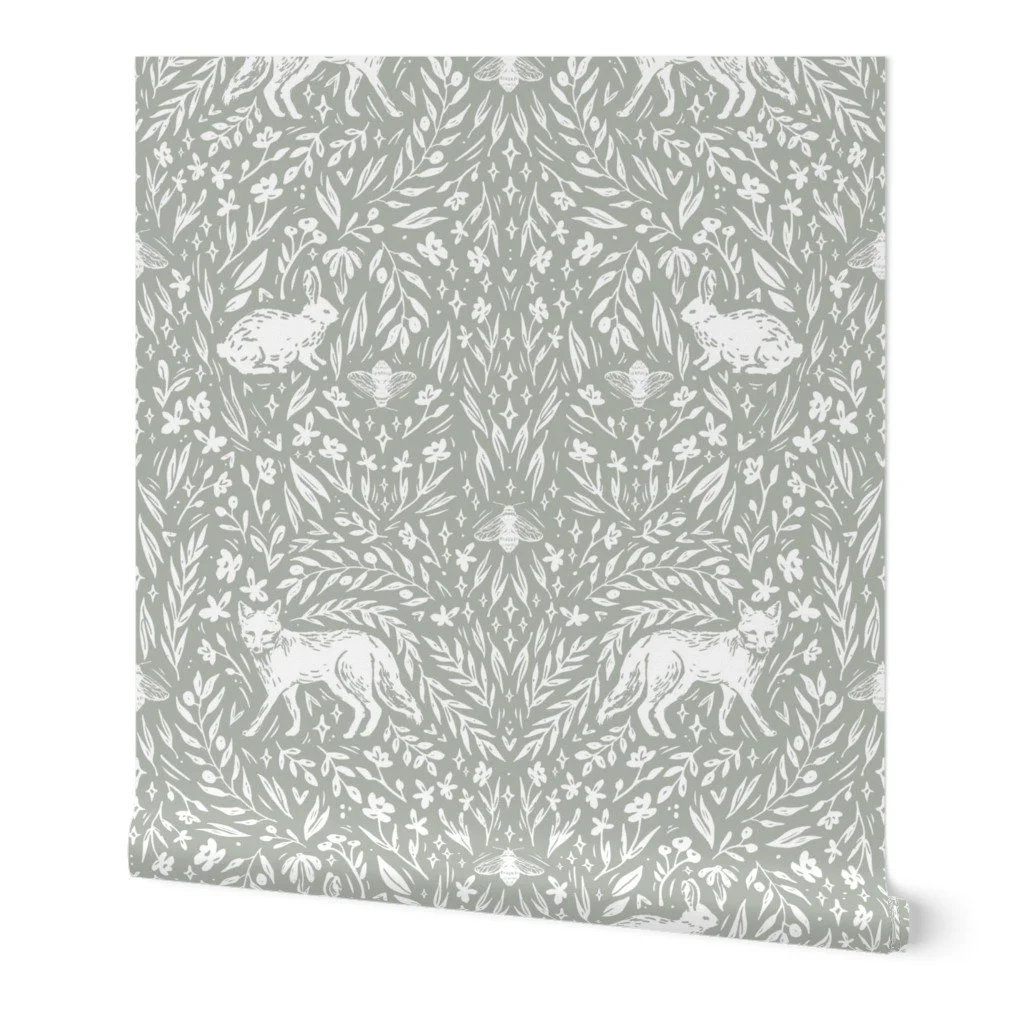
woodland animal wallpaper for nurseries and toddler rooms
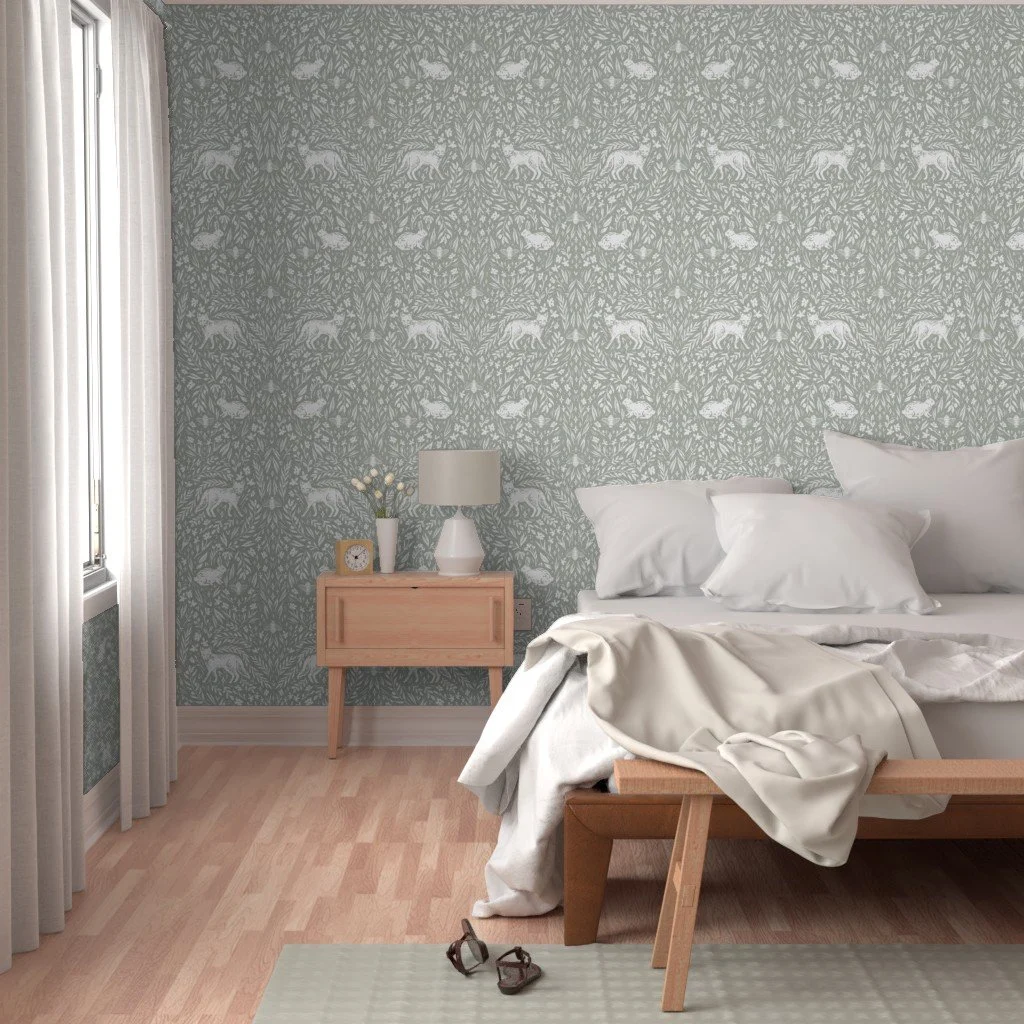
Creating a woodland-themed nursery is a wonderful way to give your baby a cozy, enchanting environment. One of the most charming ways to infuse this theme into the room is with woodland nursery wallpaper. This design choice not only adds visual appeal but also creates a serene and magical atmosphere. There are several wallpaper options we will explore in this post—pre-pasted, peel and stick, and traditional unpasted—and provide helpful tips for hanging wallpaper to ensure a beautiful finish.
Types of Woodland Nursery Wallpaper
1. Pre-Pasted Wallpaper
What It Is: Pre-pasted wallpaper comes with an adhesive already applied to the back. To install it, you simply need to wet the wallpaper to activate the adhesive before applying it to the wall.
Pros:
Convenience: Since the adhesive is already applied, you save time and avoid the mess associated with paste application.
Ease of Use: Ideal for DIY projects, especially for beginners. The activation process is straightforward.
Less Mess: No need for additional paste or glue, making the installation process cleaner.
Cons:
Limited Adjustability: Once applied, it can be more difficult to reposition the wallpaper.
Shorter Working Time: You need to work relatively quickly after wetting the wallpaper before the adhesive dries.

2. Peel and Stick Wallpaper
What It Is: Peel and stick wallpaper is a modern option that features a self-adhesive backing. It adheres directly to the wall without the need for paste or water.
Pros:
Ease of Installation: Extremely user-friendly, making it perfect for renters or those new to wallpapering. No paste or water required.
Repositionable: Allows for easy adjustments during application, so you can fix mistakes or change your design as needed.
Removal: Often designed to be removable and reapplicable, which is great for changing trends or transitioning the nursery as your child grows.
Cons:
Durability: May not be as durable as other types, particularly in high-traffic areas.
Texture: Might not adhere well to textured walls or surfaces with imperfections.
3. Traditional Unpasted Wallpaper
What It Is: Traditional unpasted wallpaper requires you to apply wallpaper paste separately. This method has been used for decades and involves a bit more preparation.
Pros:
Variety: Offers a wider range of patterns and textures. Because it’s been around longer, there’s often a larger selection of classic and intricate designs.
Durability: Tends to be more durable and can adhere better to walls, especially if applied correctly with the right paste.
Cons:
Complexity: Requires more preparation, including pasting the wallpaper and potentially dealing with paste drips and cleanup.
Time-Consuming: Installation can be more time-consuming compared to pre-pasted and peel-and-stick options.
Tips for Choosing Woodland Nursery Wallpaper
When selecting woodland nursery wallpaper, consider the following factors to ensure you choose the best option for your space and needs:
1. Room Size and Lighting
Larger Rooms: In larger spaces, you can be more adventurous with patterns. Consider larger woodland scenes or more intricate designs to fill the space.
Smaller Rooms: For smaller nurseries, opt for lighter colors and patterns that don’t overwhelm the space. Soft greens, gentle browns, and muted blues can create a calming effect.
2. Design and Theme
Coherence: Ensure that the wallpaper design complements other elements of the nursery, such as furniture, rugs, and curtains. A woodland theme can include motifs like trees, animals, and nature scenes.
Color Palette: Choose colors that are soothing and conducive to a calm atmosphere. Pastel shades and natural hues work well in nurseries.
3. Ease of Application and Removal
DIY Friendly: If you’re tackling the project yourself, peel and stick wallpaper may be the easiest option. For a more polished finish and if you’re comfortable with a bit of extra work, pre-pasted or unpasted wallpaper can be ideal.
Longevity: Consider how long you plan to keep the wallpaper. If you want flexibility for future changes, peel and stick might be the best choice. If you’re looking for something more permanent, traditional unpasted wallpaper could be the way to go.
4. Wall Surface and Preparation
Smooth Walls: Peel and stick wallpapers generally work best on smooth, clean surfaces. Ensure the walls are free of dust, grease, and imperfections.
Textured Walls: Traditional and pre-pasted wallpapers can sometimes handle slight texturing, but very rough walls might require additional preparation or a primer.
Tips for Hanging Wallpaper
Regardless of the type of wallpaper you choose, proper hanging techniques are crucial for achieving a professional finish. Here’s how to ensure a successful wallpapering project:
1. Preparation
Clean and Repair Walls: Start by cleaning the walls to remove any dust or dirt. Fill in any holes or cracks with spackle and sand the surface smooth.
Primer: Applying a primer can help the wallpaper adhere better and make it easier to remove in the future, especially for traditional and pre-pasted wallpapers.
2. Measuring and Cutting
Measure Accurately: Measure the height of your walls and the width of each wallpaper roll. Add a few extra inches to the top and bottom to ensure a perfect fit.
Cut Carefully: Cut the wallpaper strips with precision. If you’re using a pattern, make sure to match the design at the seams.
3. Applying Wallpaper
Start from the Top: Begin hanging wallpaper from the top of the wall and work your way down. This approach helps avoid unsightly seams and ensures a cleaner finish.
Use a Smoothing Tool: For pre-pasted and traditional wallpapers, use a smoothing tool or wallpaper brush to remove air bubbles and ensure a tight fit.
Align Patterns: Carefully align patterns or motifs to ensure they flow seamlessly across seams.
4. Trimming and Finishing
Trim Excess: Use a sharp utility knife to trim excess wallpaper along the edges and around outlets. Be cautious not to cut into the wall surface.
Check Seams: After installation, inspect the seams to make sure they are secure. If needed, apply additional paste or adhesive to any areas where the wallpaper may be lifting.
5. Cleaning Up
Wipe Down: Gently wipe down the wallpaper with a damp cloth to remove any paste residue or fingerprints. Avoid using harsh chemicals or excessive water.
Remove Air Bubbles: For any remaining air bubbles, use a needle to puncture them and smooth them out.
Conclusion
Woodland nursery wallpaper is a fantastic way to create a whimsical and inviting space for your little one. By choosing the right type of wallpaper—pre-pasted, peel and stick, or traditional unpasted—and following proper installation techniques, you can achieve a beautiful and lasting result. Remember to consider factors such as room size, design preferences, and wall conditions when making your choice. With careful planning and execution, your woodland-themed nursery will be a delightful retreat that both you and your baby will cherish.