
How to Install Peel and Stick Wallpaper for a Nursery or Kids Room
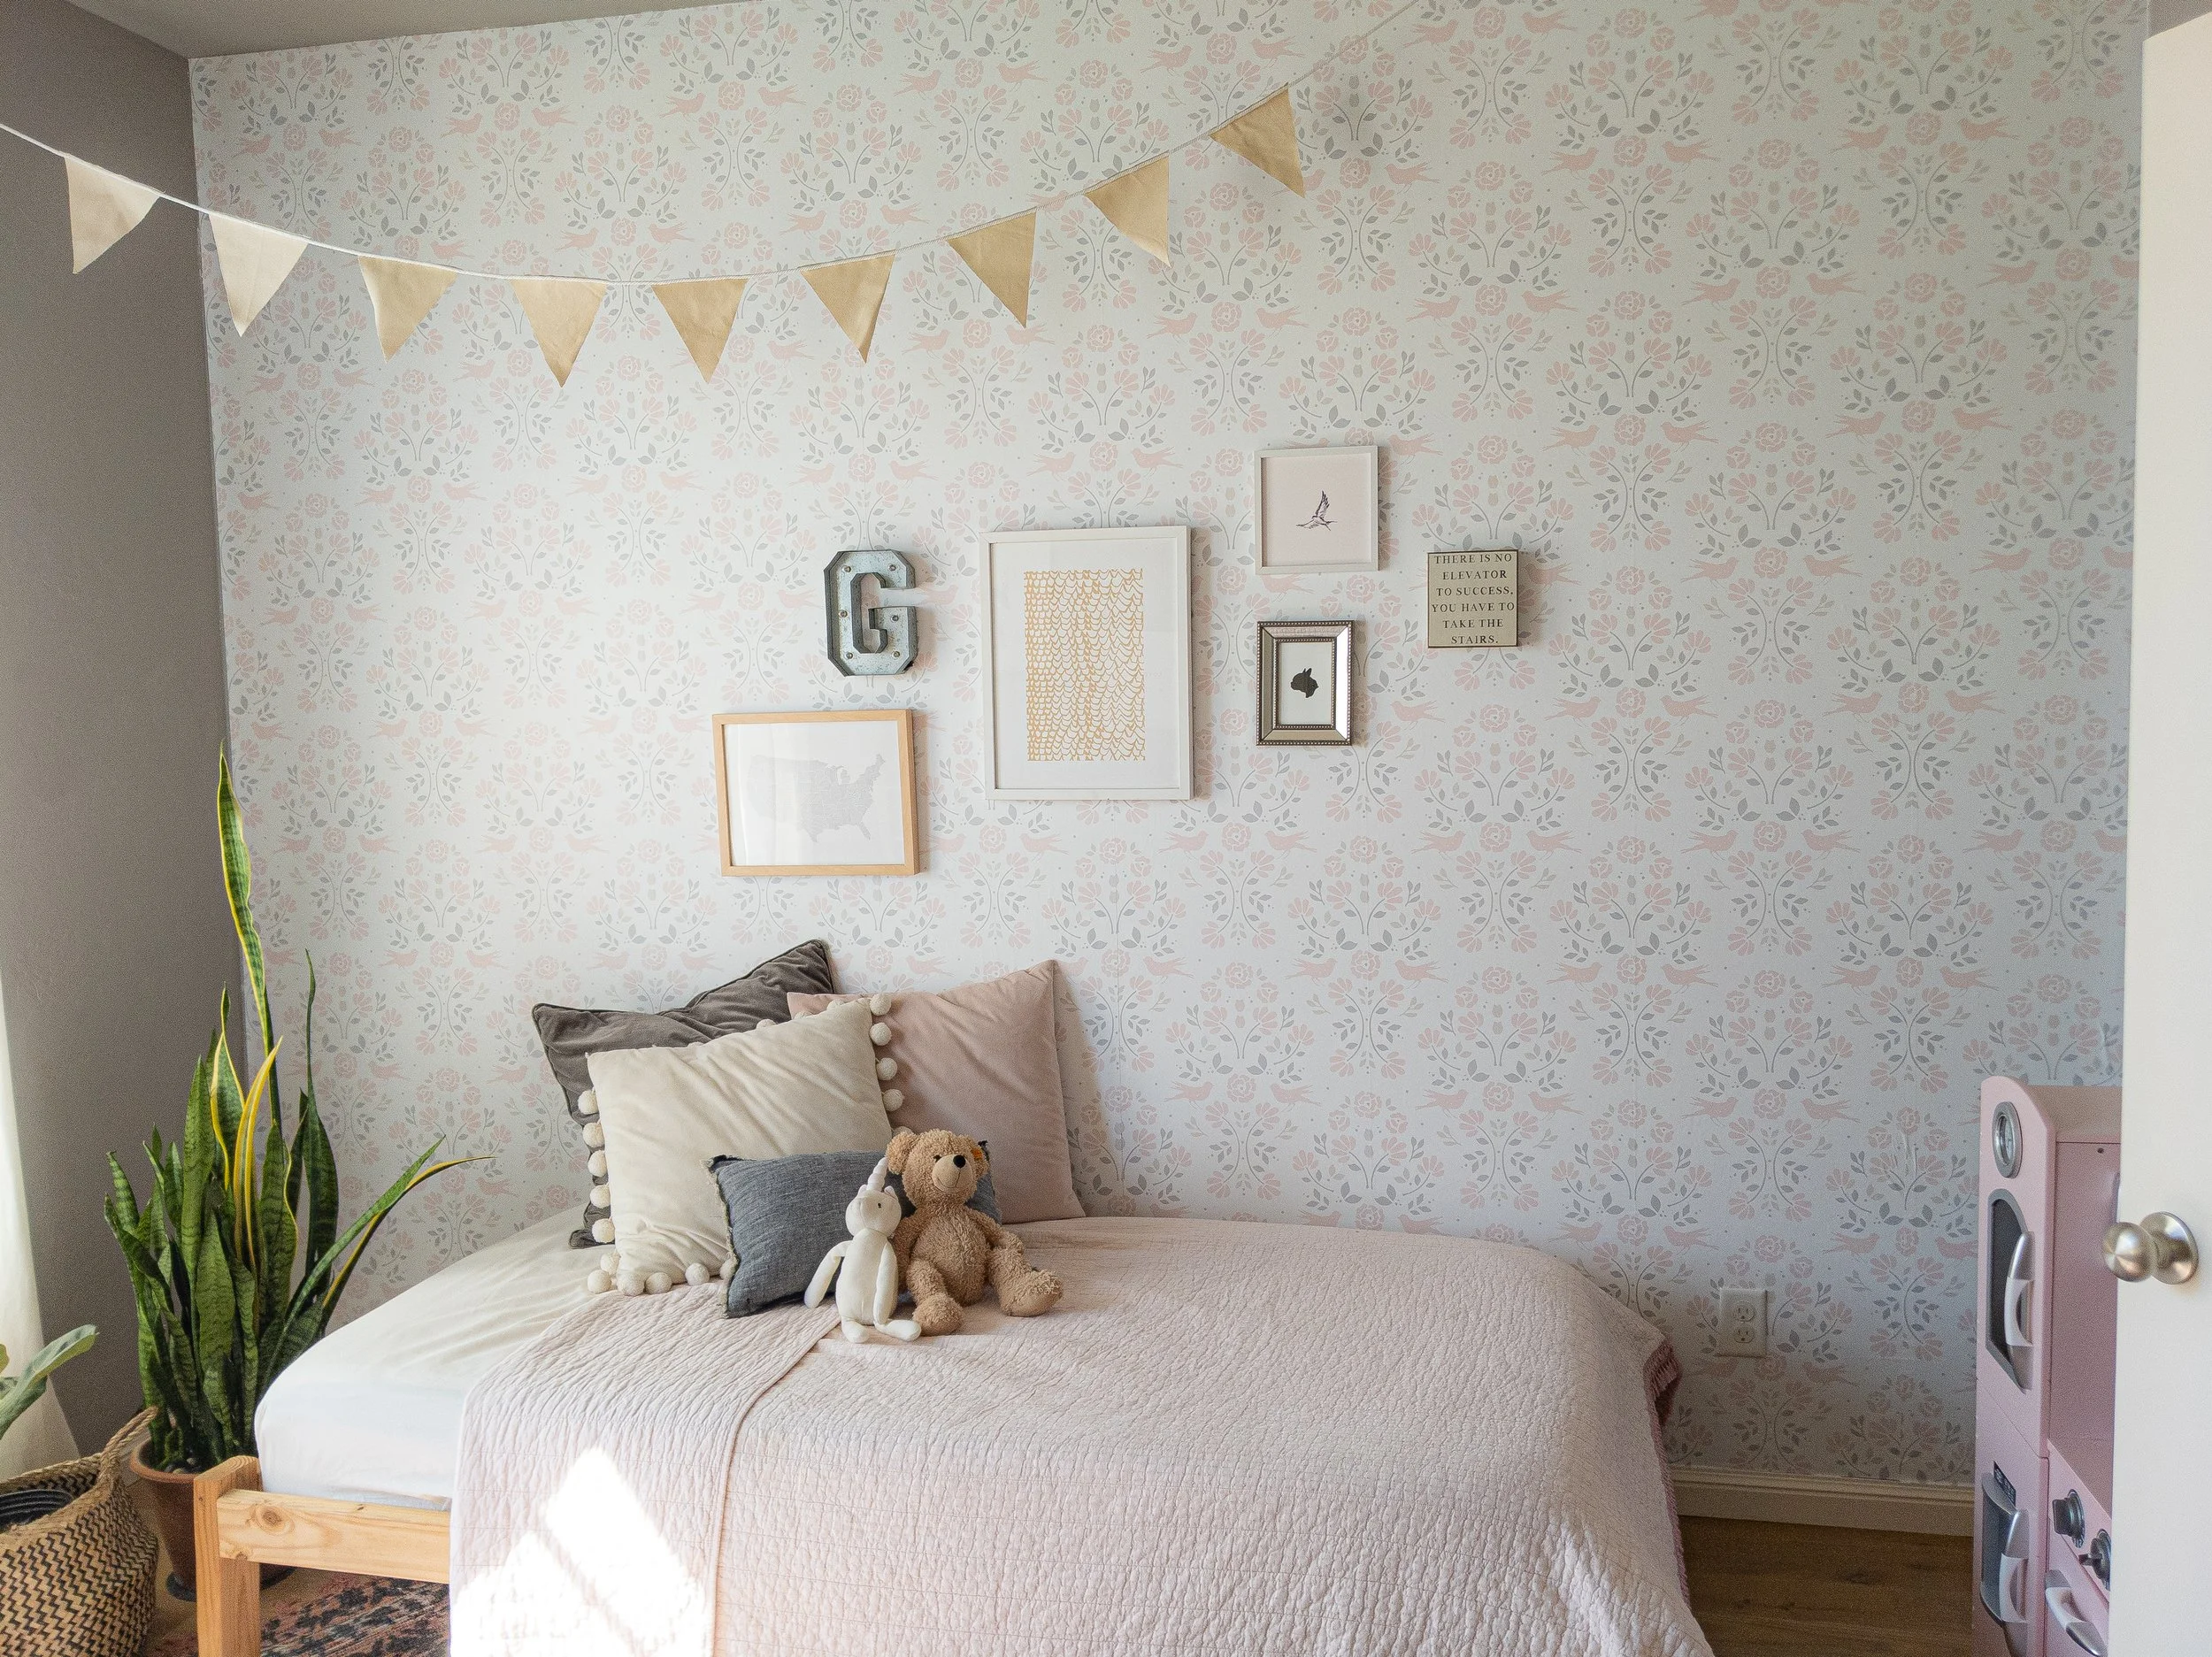
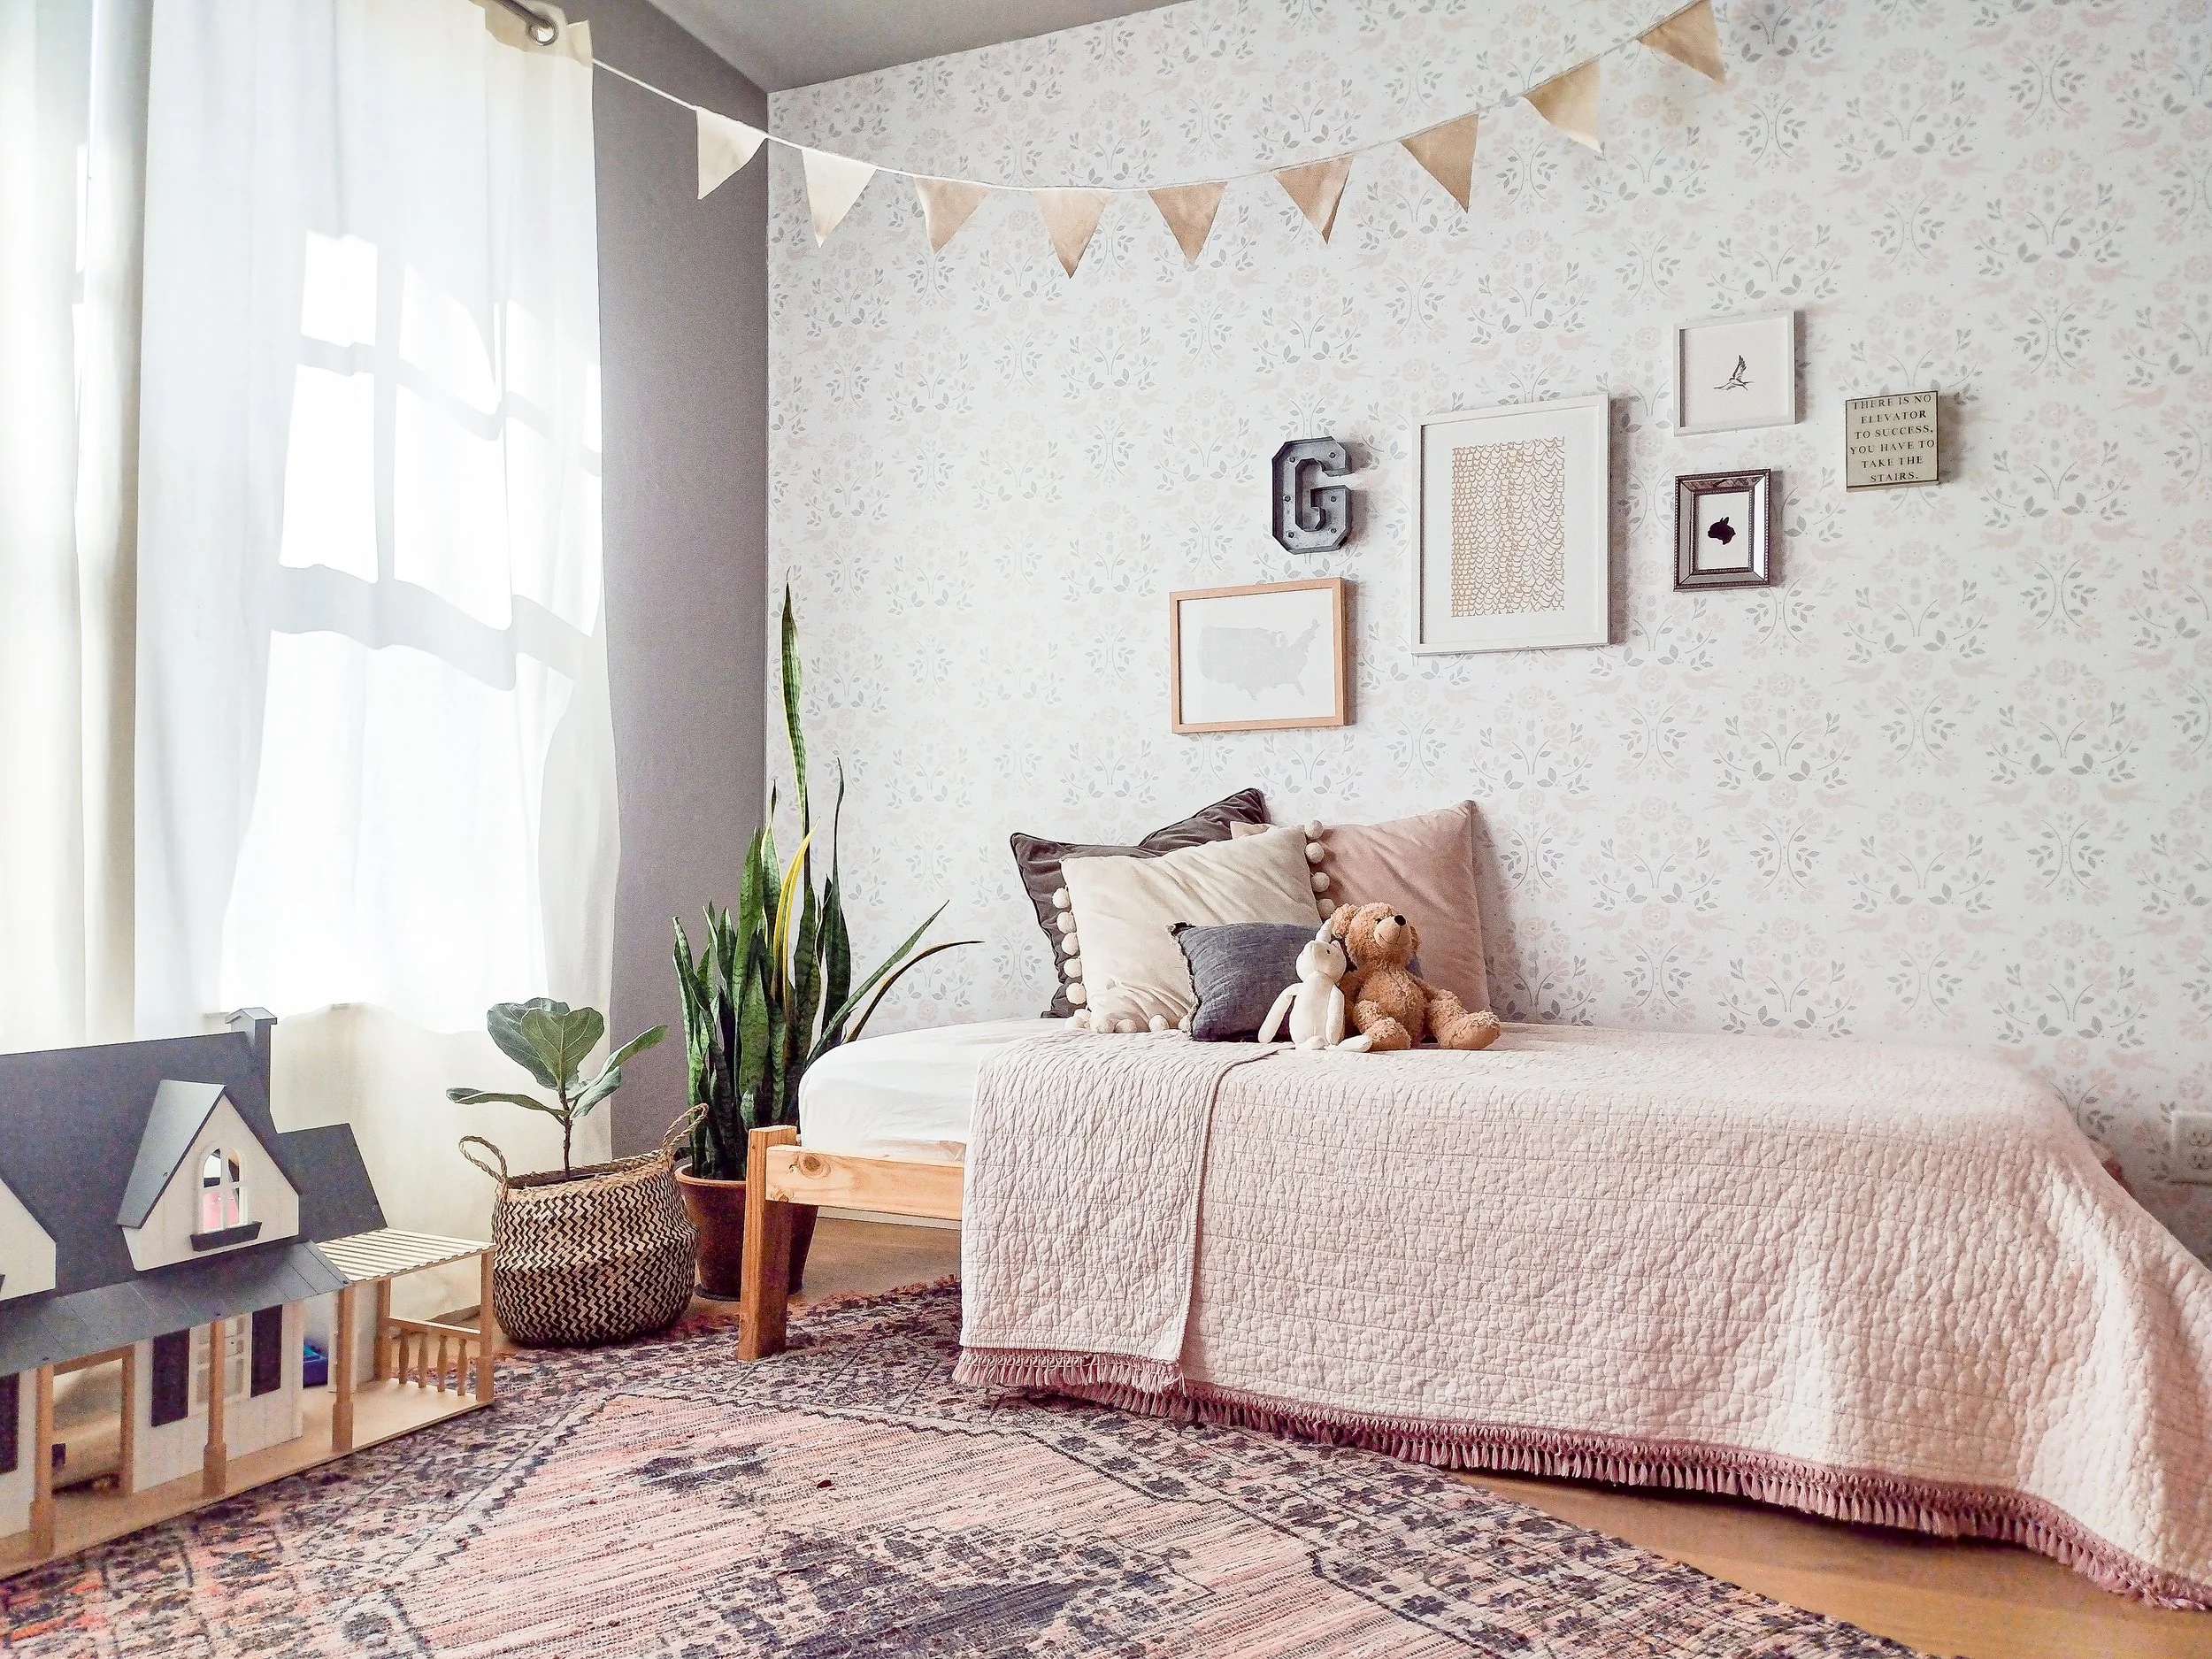
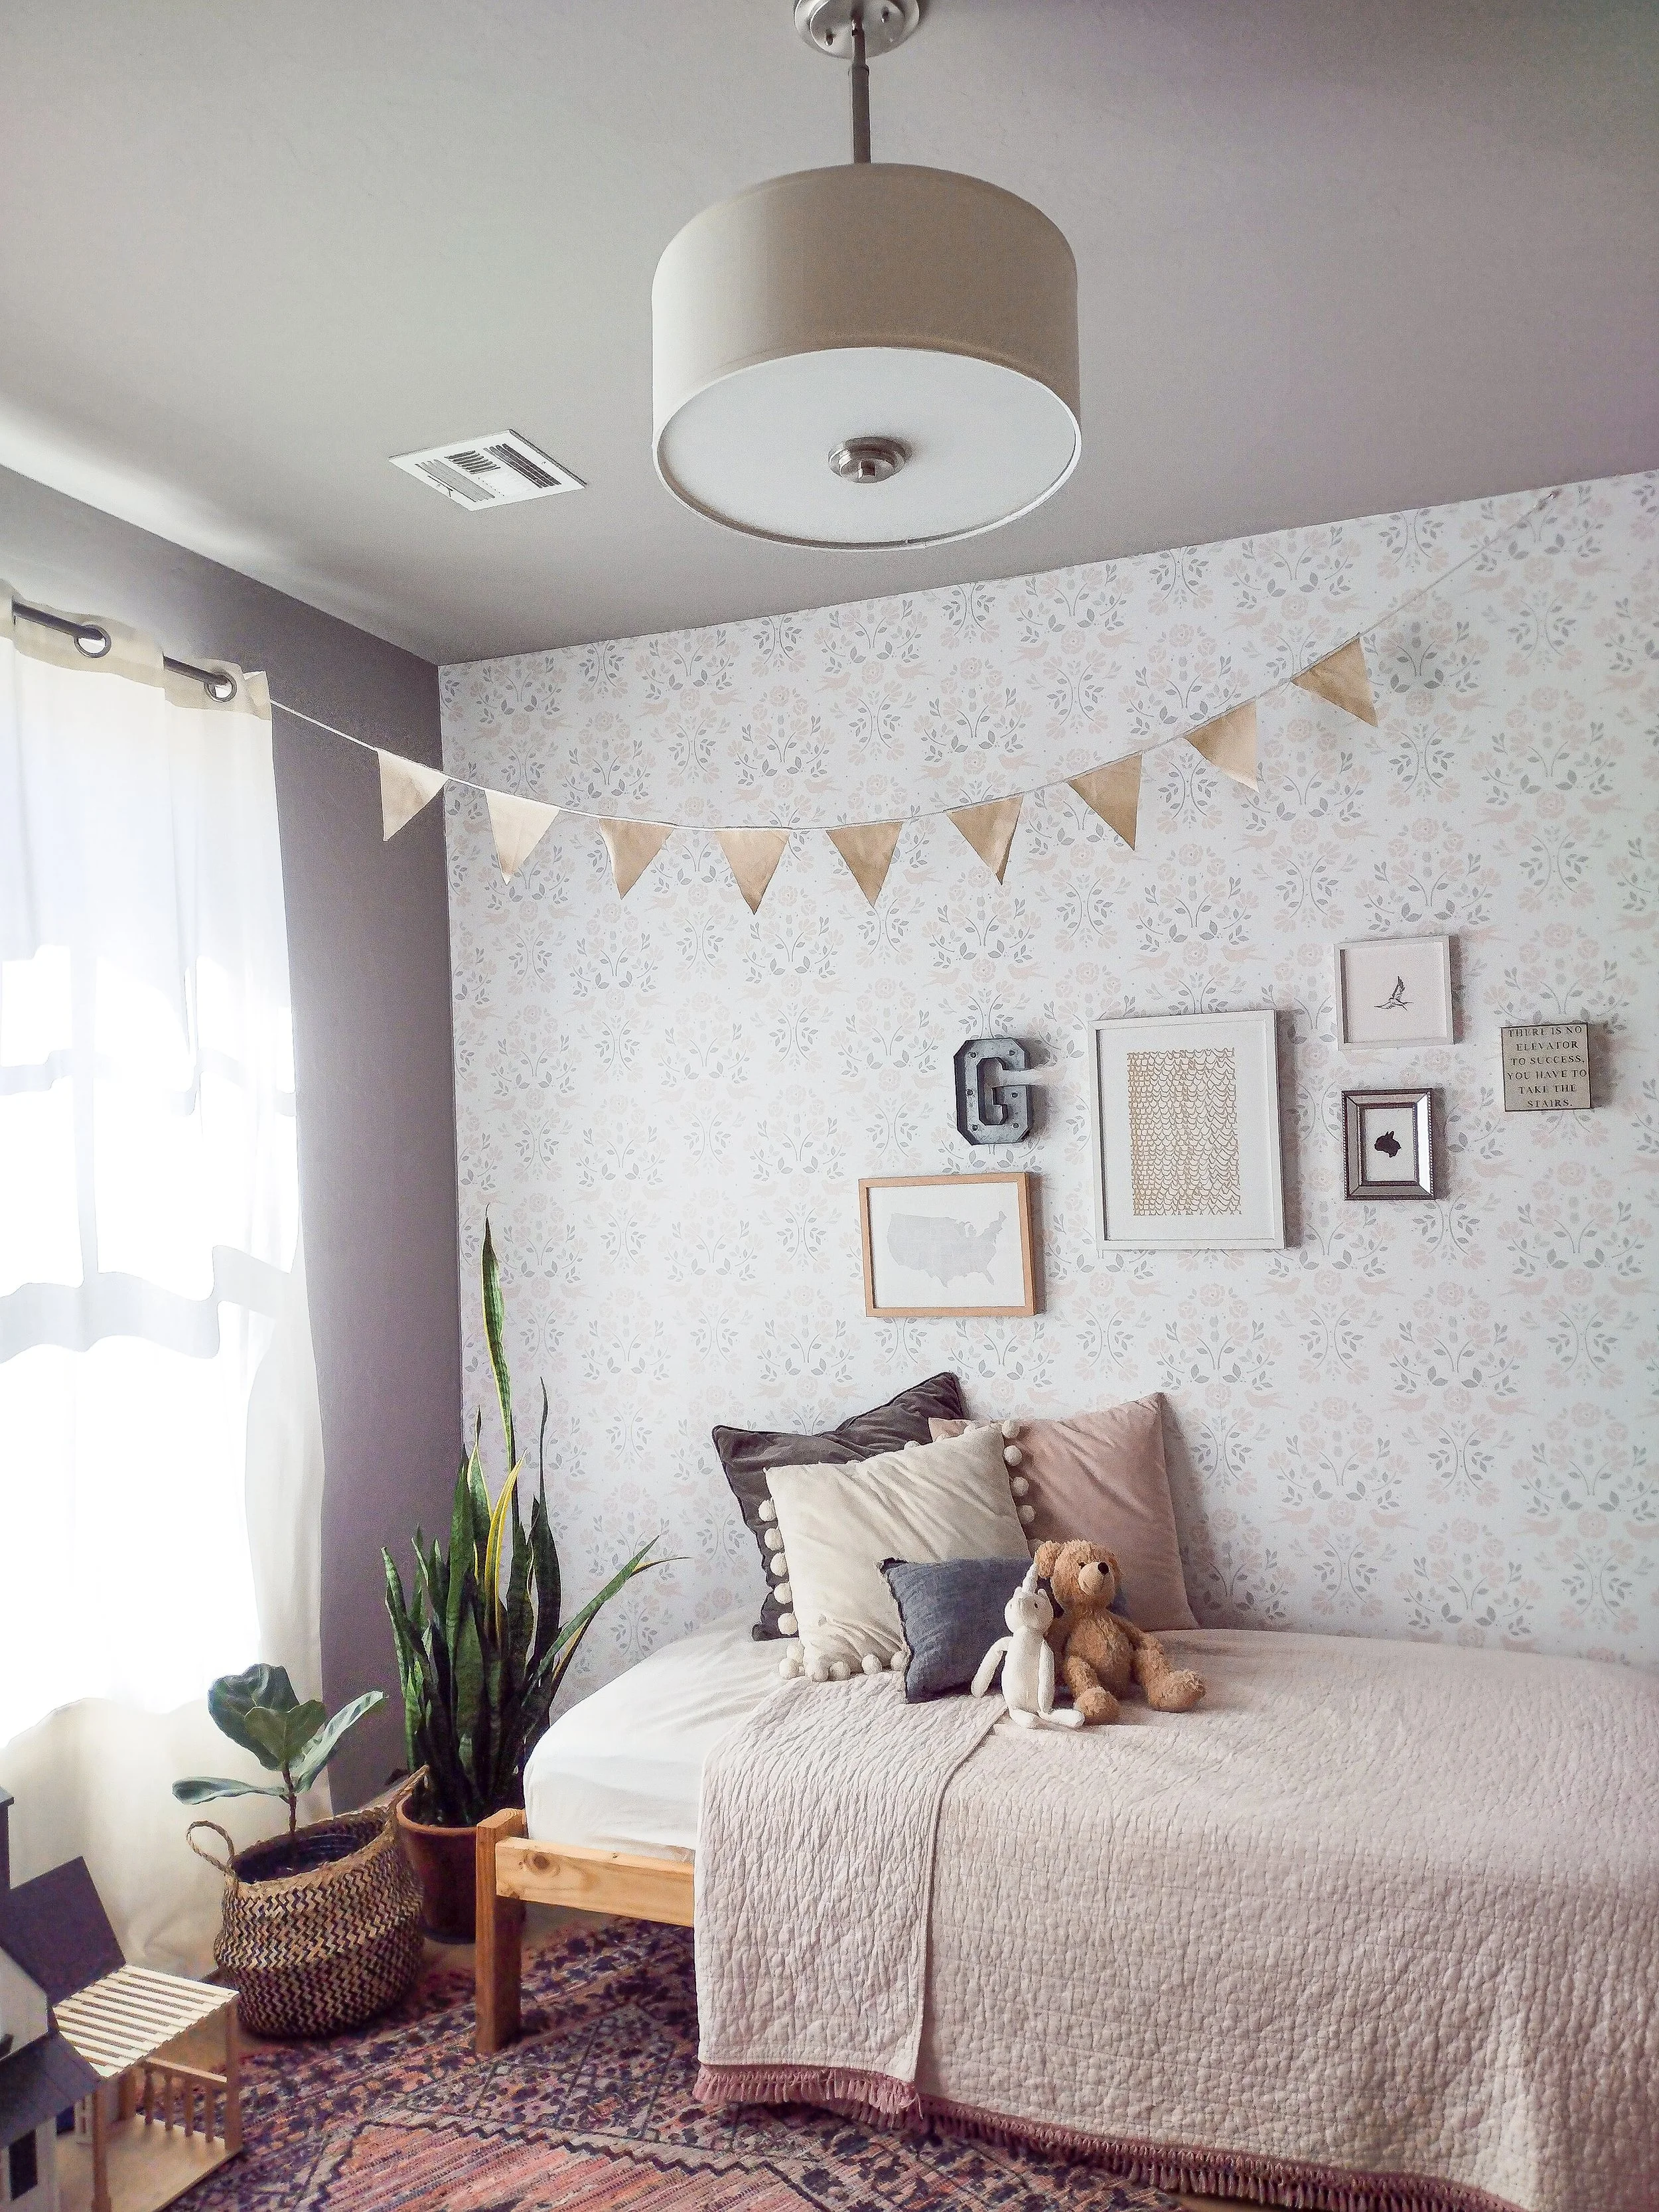
Transforming a kids bedroom or nursery has never been easier or more renter-friendly than with removable peel and stick wallpaper. Whether you're creating a whimsical woodland retreat, a nature-inspired nursery, or a bold accent wall for a toddler's room, peel and stick wallpaper lets you achieve a high-impact, designer look without the permanence (or the mess) of traditional wallpaper paste.
In this step-by-step guide, you'll learn exactly how to install removable peel and stick wallpaper in a kids bedroom or nursery, including how to prep your walls, measure correctly, hang perfectly straight panels, and handle those tricky corners and outlets so your finished wall looks flawless.
Why Peel and Stick Wallpaper Is Perfect for Kids' Spaces
Before we dive into the how-to, let's talk about why peel and stick is the go-to choice for nurseries and kids rooms specifically:
Renter-friendly: Removable wallpaper goes up without any paste or primer, and comes down cleanly when it's time to move or redecorate, leaving walls undamaged.
Easy to update as kids grow: Your toddler's taste will change. Peel and stick makes it painless to swap out a nursery print for something new when they outgrow it.
No fumes or harsh chemicals: Traditional wallpaper adhesive can off-gas, which isn't ideal in a baby's room. Removable wallpaper is a much safer option.
DIY-friendly: You don't need professional installation. With patience and the right technique, anyone can get a beautiful result.

What You'll Need
Gather these tools before you start:
Peel and stick wallpaper panels
Tape measure
Level or laser level
Pencil
Smooth plastic squeegee or credit card
Sharp utility knife or precision scissors
Painter's tape
Step stool or ladder
Clean microfiber cloth
A helper (optional but highly recommended for large panels!)
Step 1: Measure Your Wall and Order the Right Amount
Accurate measurements are the foundation of a great installation. Here's how to do it:
Measure the width and height of the wall (or the section you want to cover) in inches.
Add 2–3 inches to the height of each panel measurement to give yourself trimming room at the top and bottom.
Account for pattern repeat. If your wallpaper has a repeating pattern, like a toile, floral, or woodland print, all of our wallpaper is made to align at the top of each panel. This makes the installation process go much smoother.
Round up, not down. It's always better to have a little extra than to run short mid-install.
Pro tip: For a standard nursery accent wall (roughly 9 ft wide × 8 ft tall), most people need 4–6 panels, depending on the wallpaper width. Our product pages & wallpaper calculator lists panel dimensions clearly so you can calculate exactly what you need.
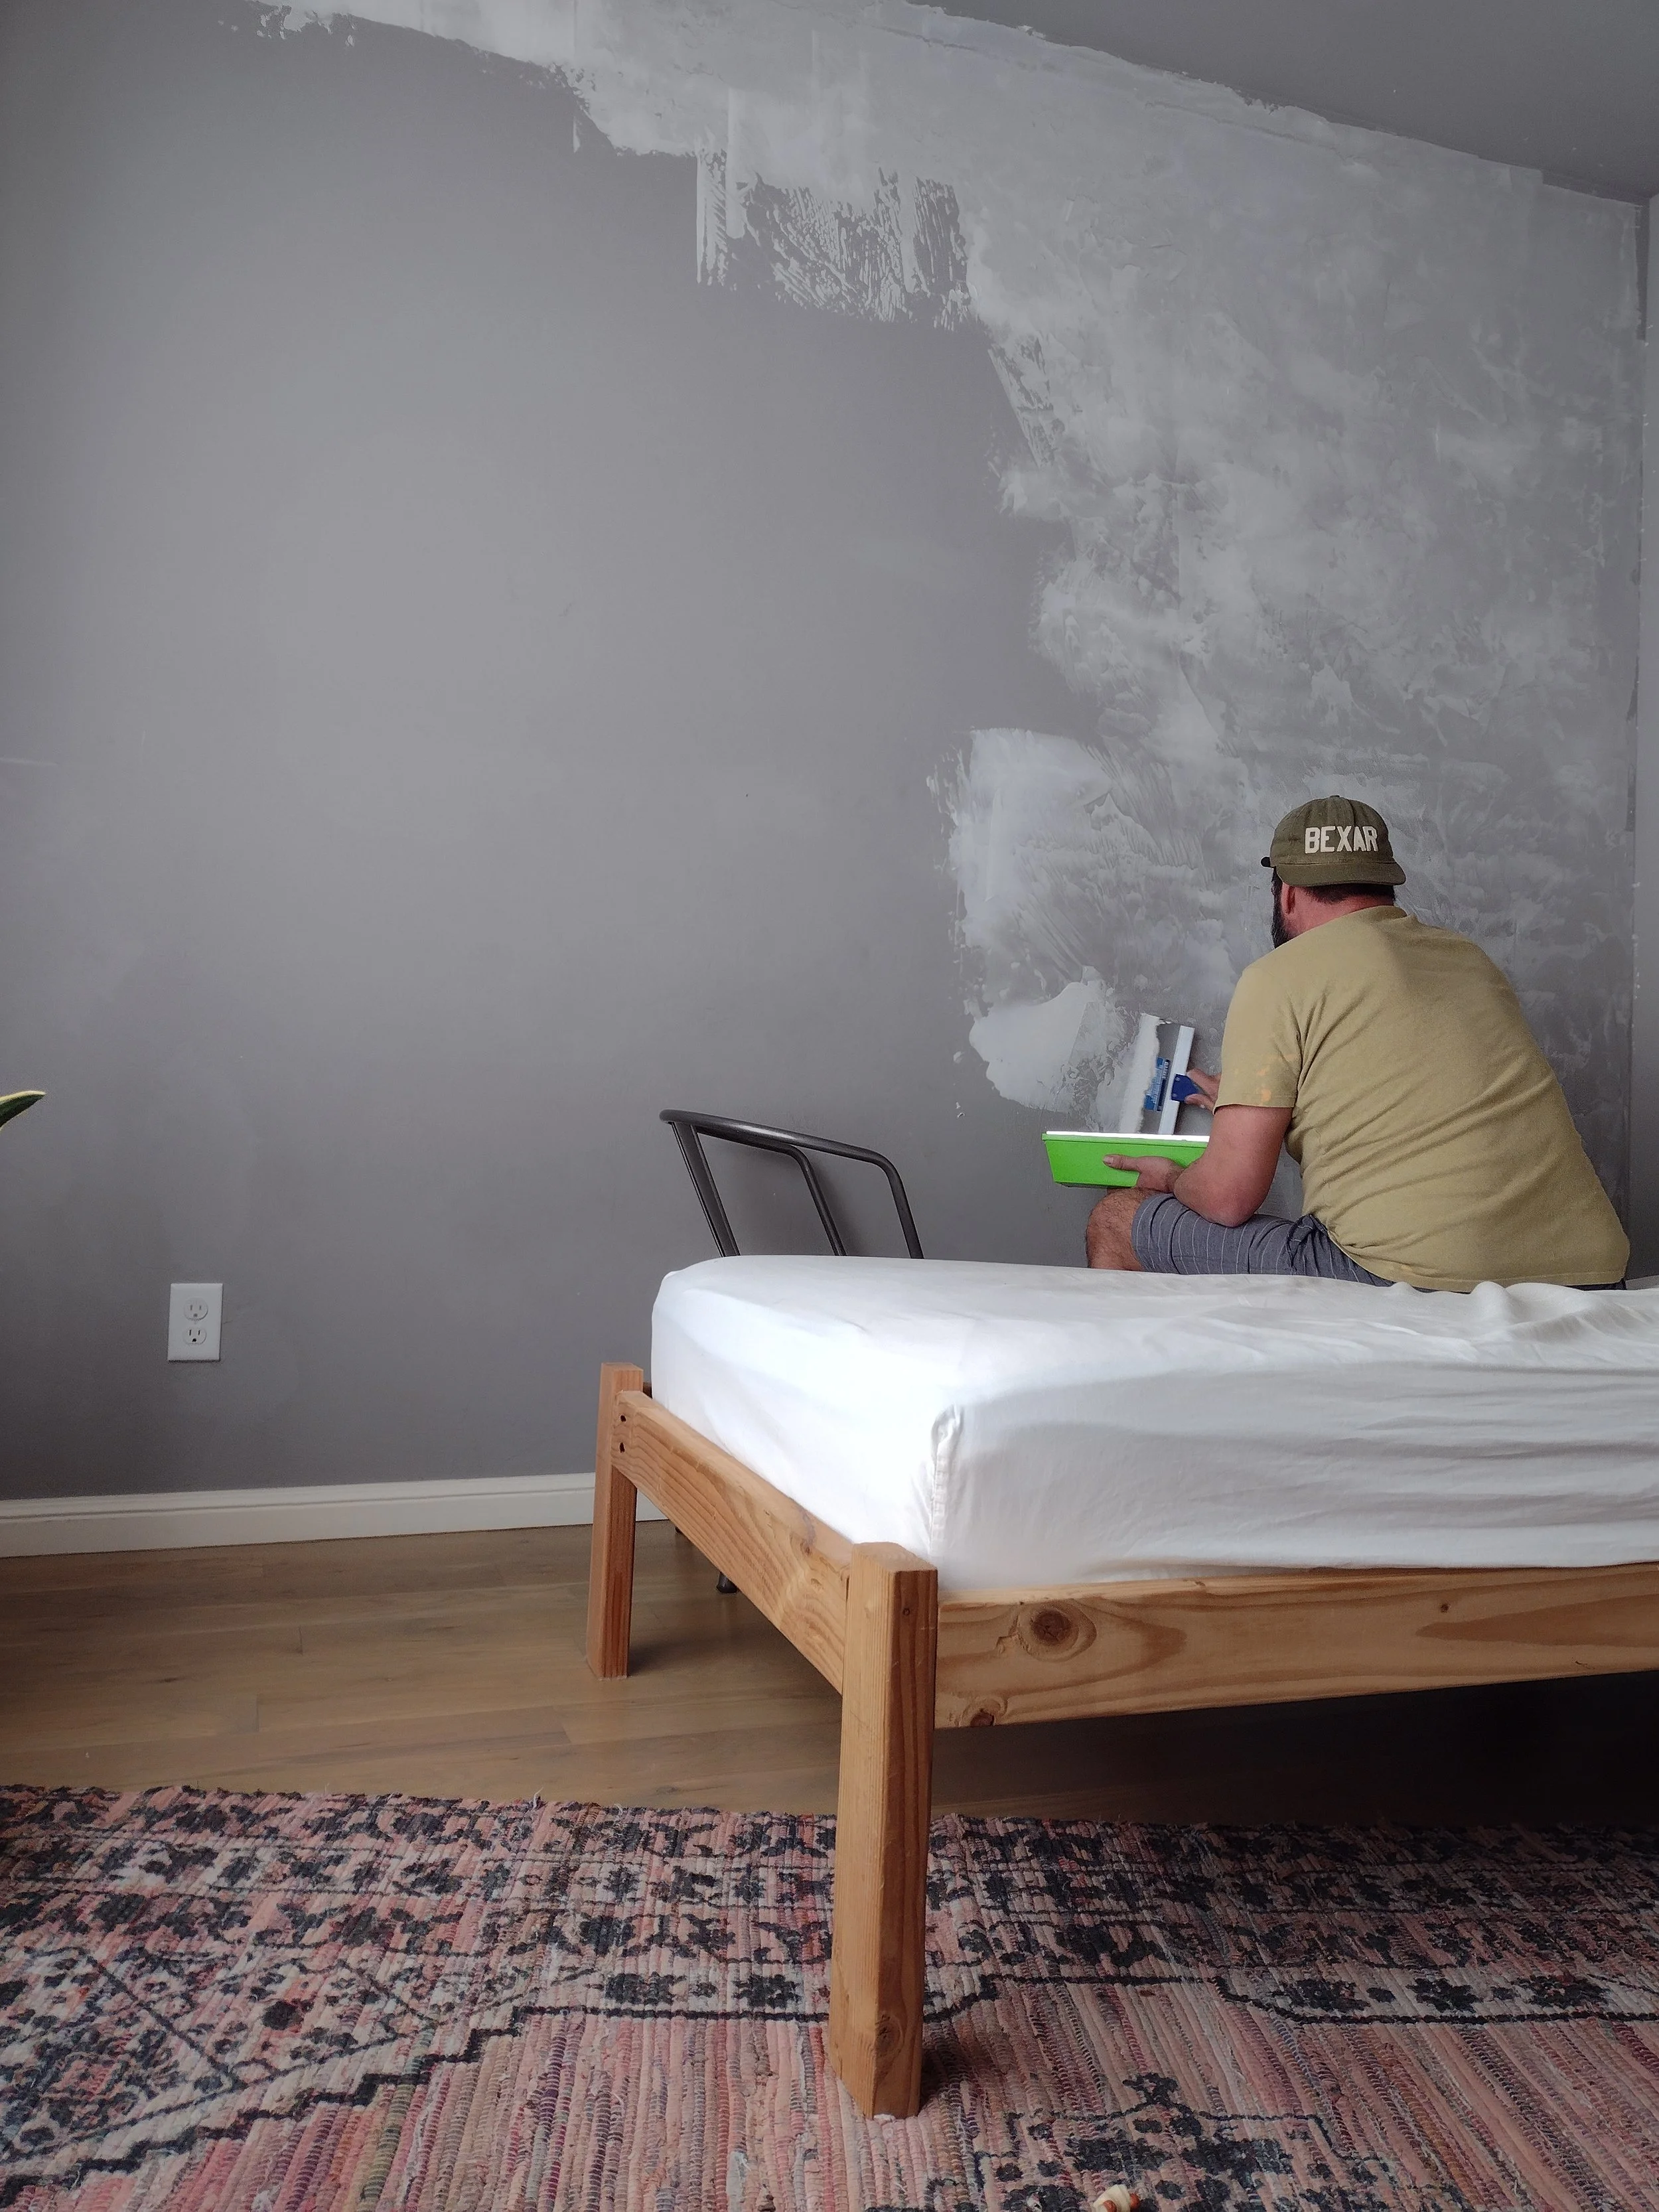
Step 2: Prep Your Walls
This step is non-negotiable. Proper wall prep is the single most important factor in how well your wallpaper adheres and how cleanly it removes later.
Clean the wall thoroughly
Wipe down the entire surface with a clean, damp microfiber cloth to remove dust, grease, and fingerprints. For nursery walls that may have been wiped down with cleaning spray or have crayon smudges, use a mild soap solution and let the wall dry completely.
Let the wall dry
The wall must be completely dry before you hang anything. Moisture trapped under the wallpaper is the #1 cause of bubbles and poor adhesion. Give it at least 24 hours after cleaning, or up to 4 weeks if the room has been freshly painted.
Check for fresh paint
New paint needs to cure before you apply peel and stick wallpaper. Wait at least 30 days after painting before installing. Applying wallpaper to uncured paint can damage the finish when you eventually remove the wallpaper.
Note wall texture
Peel and stick wallpaper adheres best to smooth, flat walls. Light orange peel texture is usually fine, but heavily textured walls (skip trowel, popcorn, etc.) can prevent the adhesive from bonding properly and may cause lifting at the edges. If your walls have heavy texture, consider a light skim coat of joint compound, sanded smooth, before you hang. You can find skim coat at any major hardware store, and it is really easy to apply!
Step 3: Find Your Starting Point
Starting in the right place makes everything easier and ensures your pattern lines up properly across the room.
Option A: Start at a corner
For a full-wall application, start at the least-visible corner of the room (usually the corner behind a door). This way, if the last panel doesn't match perfectly due to walls being slightly out of square, it's hidden.
Option B: Center the focal point
For an accent wall or a pattern with a clear visual center (like a large medallion or an animal motif), find the center of the wall first. Use a tape measure to mark the midpoint, then work outward in both directions so the pattern is balanced.
Mark a plumb (perfectly vertical) line
This is the most critical step. Walls in homes, especially older ones, are almost never perfectly square or plumb. If you follow the corner of the wall as your guide, your wallpaper will look crooked even if it isn't.
Instead, use a level to draw a light pencil line straight down the wall at your starting point. This is your guide line. Every panel goes up against this line, not the corner.
Step 4: Cut Your First Panel
Unroll your first panel on a clean, flat surface (a table or clean floor works great).
Measure and mark the height of your wall on the panel, adding 2–3 inches of overhang at both the top and the bottom for trimming.
Cut the panel to length with a sharp utility knife and straightedge, or precision scissors.
If your design has a pattern, check that you know where the top of the pattern should align before cutting.
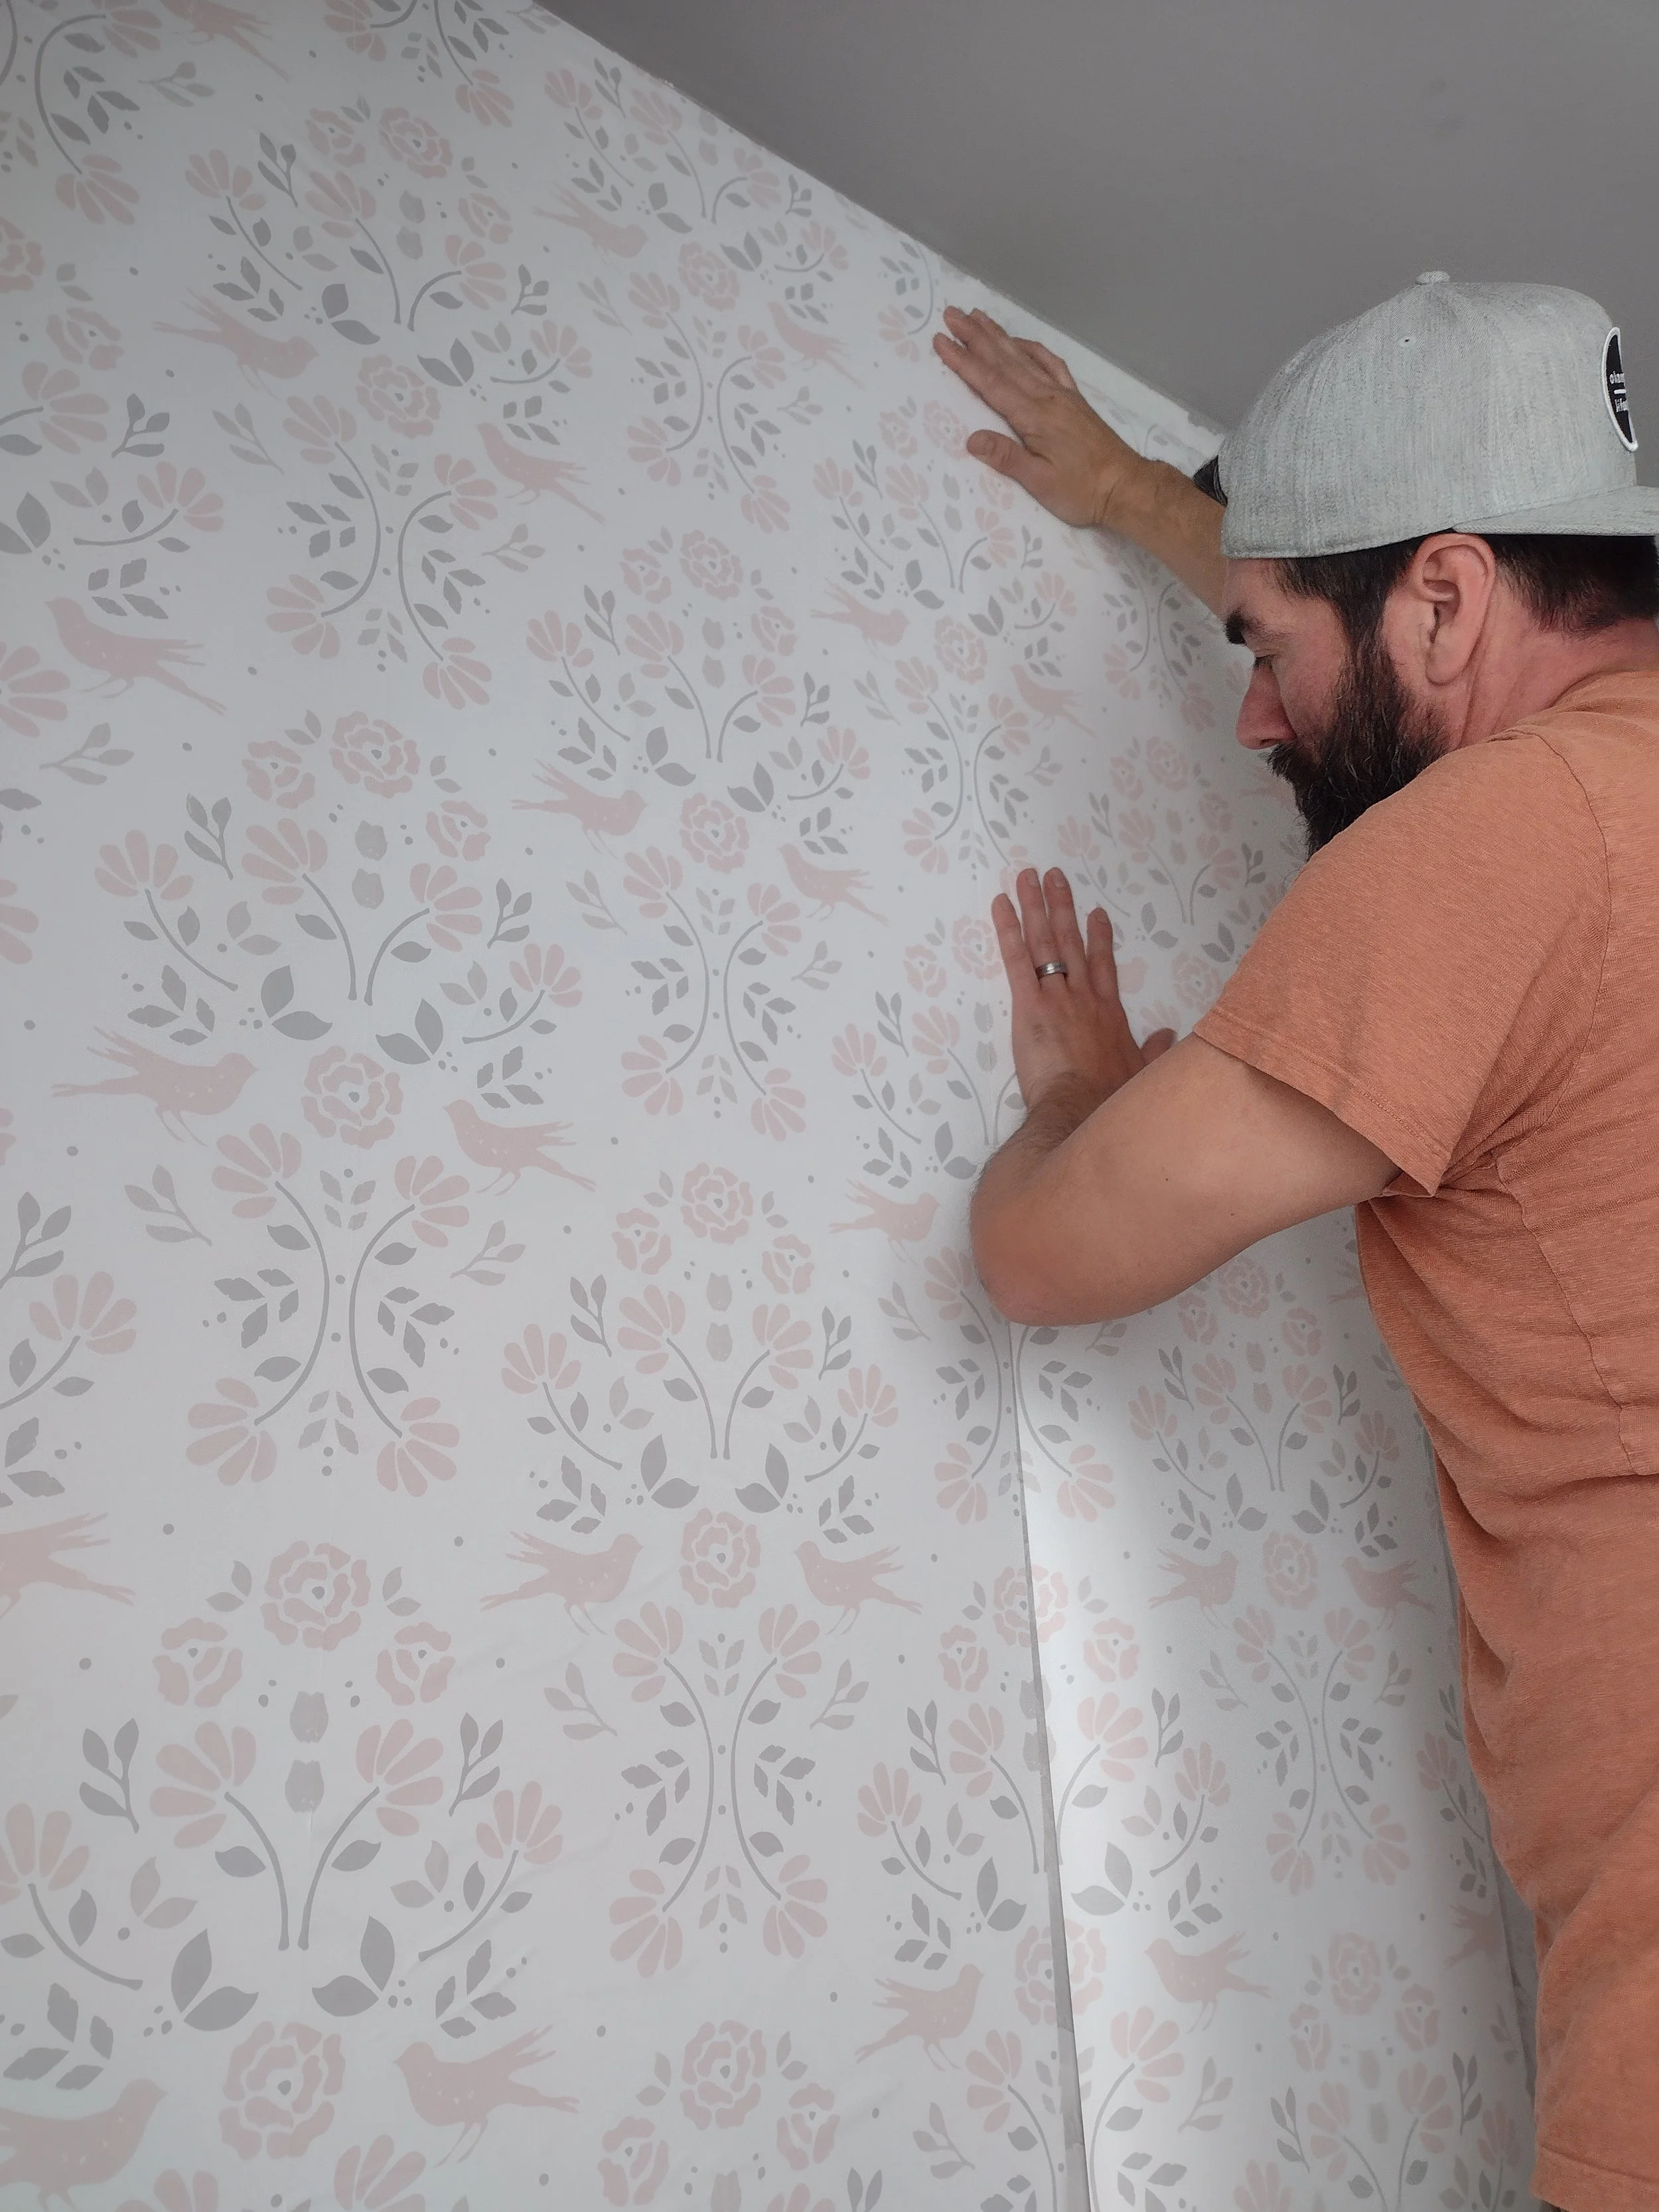

Step 5: Hang Your First Panel
Here's the technique that gives you a bubble-free, professional finish:
The "book fold" method (recommended for large panels)
Rather than peeling the entire backing off at once, try this:
Peel back the top 6–8 inches of the backing only, and fold it back on itself so it's out of the way.
Align the top edge of the panel with the ceiling (or your desired starting height), leaving a couple of inches of overhang above your trim line.
Line up the side of the panel with your plumb pencil line.
Smooth down those top few inches with your squeegee, working from the center outward to push out any air.
Slowly peel more of the backing away a few inches at a time as you smooth the panel downward, keeping constant tension to prevent wrinkles.
Smooth as you go
Use your squeegee in firm, overlapping strokes working from the center of the panel outward toward the edges. This pushes air bubbles out to the sides rather than trapping them in the middle. Never smooth from side to side in a sweeping motion — you'll just move the bubble around.
Don't panic about small bubbles
Tiny bubbles often disappear on their own within 24–48 hours as the adhesive settles. If a bubble persists, you can gently peel back the panel to that point, smooth it out, and re-stick. You can also use an x-acto knife or sharp blade to make a tiny incision wherever there’s a bubble. After making the incision, take your straight edge to smooth out that piece, starting in the middle of the bubble & moving outward.
Step 6: Trim the Edges
Once the panel is fully adhered:
Trim the top and bottom by holding a metal straightedge firmly against the ceiling (or baseboard) and cutting along it with a sharp utility knife. A sharp blade makes clean cuts — swap blades frequently.
Trim around window and door casings the same way, using the straightedge as a guide.
For a clean finish at corners, cut the panel a bit longer than needed and use the corner as your guide to fold or trim.
Step 7: Hang Subsequent Panels and Match the Pattern
Line up each new panel against the previous one, using the pattern as your alignment guide.
Overlapping panels: Panels are designed with a 1/2” overlap to make it easier to line up the pattern from panel to panel.
Check for pattern match at eye level before fully adhering the new panel. You can reposition the panel while it's only partially adhered. This is one of the biggest advantages of peel and stick over traditional wallpaper.
Work from top to bottom on each panel, using the same peel-and-squeegee technique from Step 5.
Tip for kids' rooms: If your child will be touching the wall at lower heights (which they will), press those lower sections extra firmly with the squeegee and run your hand along the edges after installation to make sure the adhesive is well bonded.
Step 8: Handle Corners, Outlets, and Switches
Inside corners
Wallpaper around inside corners tends to lift if the paper is bent all the way into the corner. Instead:
Trim the panel so it wraps just ½ inch around the corner.
Start your next panel on the new wall, overlapping that ½ inch, and align it with a fresh plumb line on the new wall.
Outside corners
For outside corners (like a protruding wall or a column), wrap the paper 1 inch around the corner and smooth it firmly. Outside corner edges are prone to peeling over time in a high-traffic kids room, so apply extra pressure and consider a small bead of removable wallpaper seam repair adhesive as insurance.
Outlets and light switches
Always turn off the power to the outlet before working near it. Then:
Remove any outlet cover plates or switch covers so your wall is flush.
Hang the panel over the outlet/switch as if it isn't there.
Locate the outlet underneath and make a small X-shaped cut over it with your utility knife.
Fold the four flaps back into the outlet box and trim flush.
Step 9: Step Back and Inspect
Once all panels are up, step back to the opposite wall and view the installation in natural light (and at an angle). This helps you spot:
Any sections that need more pressure
Lifted edges (press firmly and hold)
Seams that need to be nudged tighter
Any air bubbles (give them 24 hours to self-correct first.
Run your hand along every seam and every edge one more time to ensure the adhesive is fully bonded, especially near the floor where little hands and little kicks will test it.
How to Remove Peel and Stick Wallpaper
When it's time for a change (or move-out day), here's how to take it down cleanly:
Start at a corner or seam and pull the panel back slowly at a low angle (almost parallel to the wall, not perpendicular). The lower the angle, the less stress on the wall.
Use gentle heat from a hairdryer if the adhesive is stubborn (15–20 seconds on a section loosens it nicely).
If any adhesive residue remains, a little rubbing alcohol on a cloth will clean it up without damaging most painted walls. The cleaner your wall was before installation, and the more cured the paint, the cleaner the removal will be.
Frequently Asked Questions
Can I use peel and stick wallpaper in a nursery with a baby present? Yes! Our wallpapers at roselindo.co are printed on non-toxic, baby-safe materials. Ventilate the room during installation and for a few hours afterward as a precaution.
How long does peel and stick wallpaper last? With proper wall prep and application, peel and stick wallpaper can last 3–5 years or longer. The limiting factors are usually wall cleanliness at install, humidity, and how much wear and tear it takes (kids' rooms being what they are).
Can I install it over existing wallpaper? We don't recommend it. Existing wallpaper creates an uneven surface and can affect adhesion.
Remove old wallpaper first for the best results.
What if my toddler peels an edge up? Press it firmly back down. If it won't re-stick, a small piece of double-sided foam tape behind the edge will fix it invisibly.
Can I install peel and stick wallpaper on the ceiling for a nursery canopy effect? It can be done, but ceiling installation is more challenging — adhesion is working against gravity. If you try it, use extra panels, squeegee very firmly, and consider adding a thin bead of removable adhesive caulk along the edges.
Ready to Get Started?
Explore our collection of nursery and kids room wallpaper designs at roselindo.co — nature-inspired prints, hunting and cabin themes, and more, all available as removable peel and stick panels that make DIY installation beautiful and stress-free.
Every roll ships with a pattern repeat guide and our installation recommendations so you're set up for success from the start.
Have questions about a specific wall situation or pattern? Reach out — we're always happy to help you plan your project.